Please note
Tail lights are in stock and ship within 2 business days, resistors are custom made specifically for the gen 5 Camaro and are currently on a 2~ week back order. The resistors are spliced into your factory harness to prevent hyper flashing due to the nature of LED lighting.
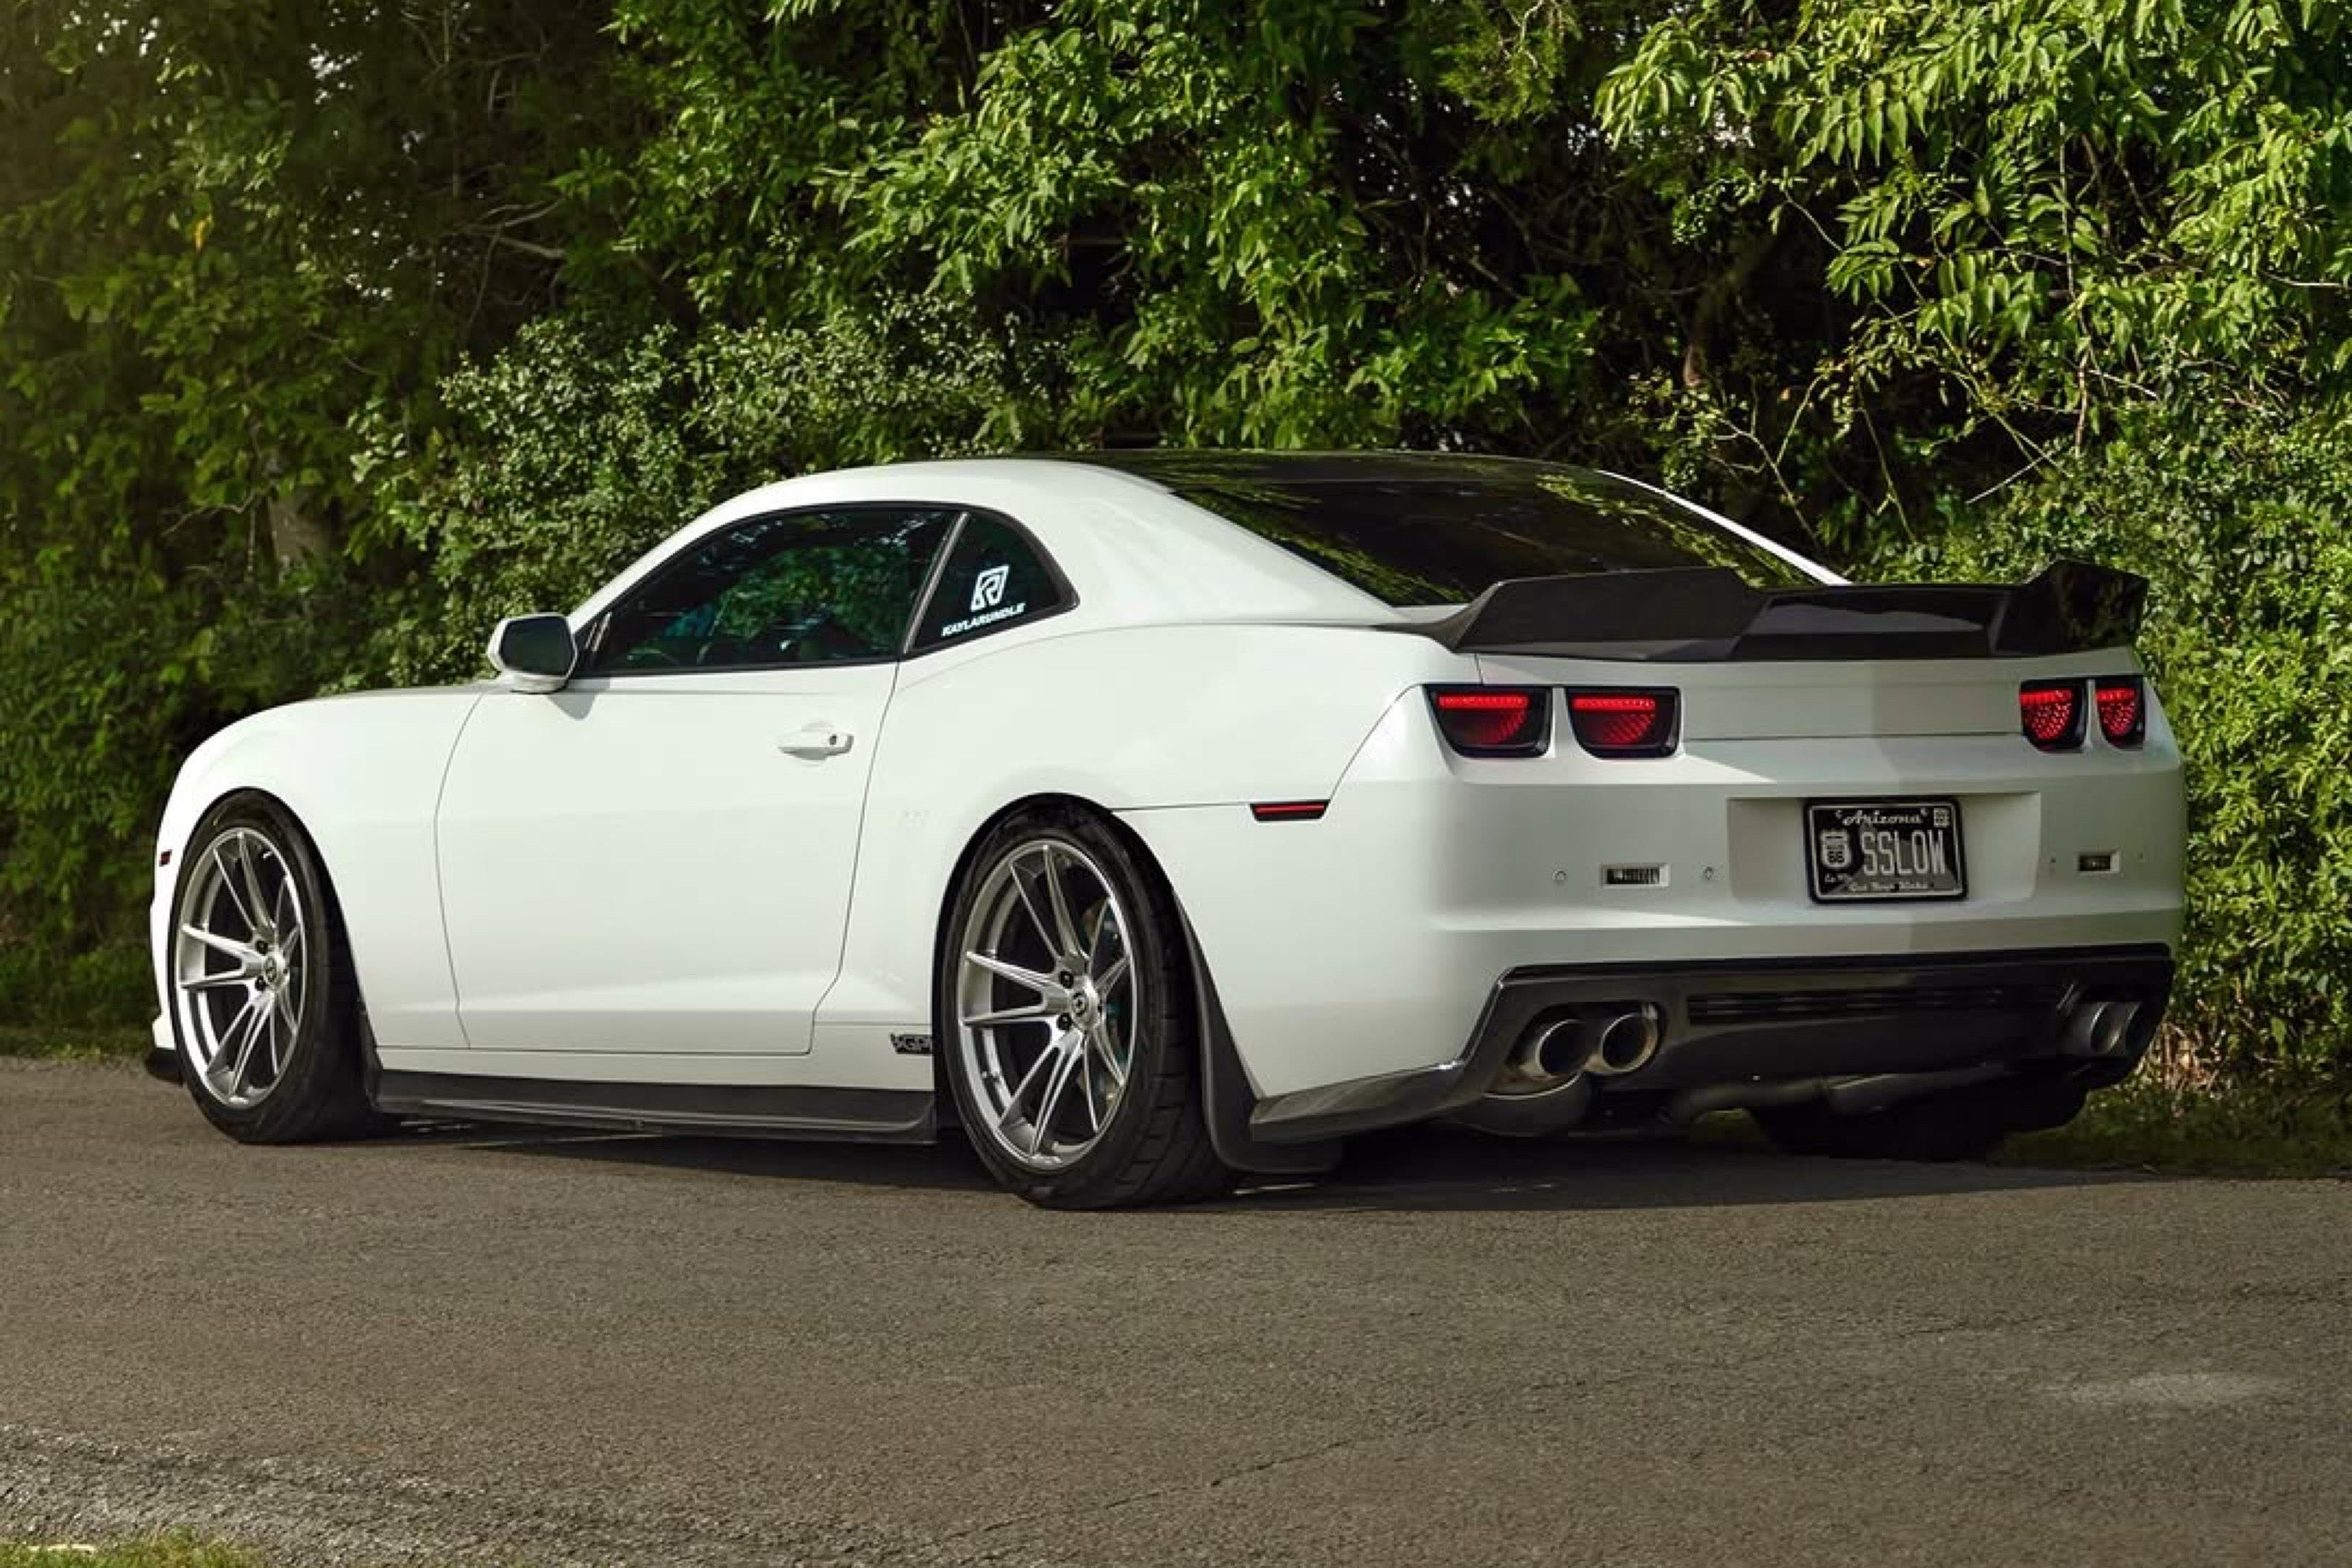
Striker Lights and Nori Lights Custom Infinity FX Tail Lights for 5th Gen Camaro are expertly engineered to enhance both the look and performance of your vehicle. Designed with advanced optics, these tail lights offer optimal visibility and aesthetic appeal. Perfect for anyone seeking to upgrade their Camaro tail lights, the Infinity FX Tail Lights are a great choice for improving the safety and style of your car.
These Camaro Infinity tails feature a custom housing, precisely designed to match the factory tail light fitment for the 5th generation Camaro. This ensures an easy, seamless installation process that doesn’t require any modifications, giving your Camaro a sleek, factory-like look while enhancing its lighting capabilities.
Crafted from a durable, tinted, scratch-resistant, and UV-resistant material, the lenses on these 5th Gen Camaro tail lights are built to last. Unlike many other tail light covers, these premium lenses do not rely on adhesive films or layers, which can peel or degrade over time. Instead, they maintain superior clarity and performance, and will not haze or yellow even after prolonged exposure to sunlight.
Upgrade your Camaro’s lighting with the Striker Lights and Nori Lights Custom Infinity FX Tail Lights, designed for maximum durability, style, and ease of installation.
Please note - These Tail lights are not DOT legal and have no DOT certification. Due to this they are for "off road" use only even though they have OEM functions and meet DOT standards.
![]()
Installation Guide
https://youtu.be/j2B7HpnKXhM
LED Load Resistors
If your Camaro came with factory installed LED tail lights, or you currently have LED tail lights installed, you likely do not need to purchase additional LED load resistors. These Resistors are to prevent hyper flashing for the OEM Turn signal function
If you select the option to include the resistors with your purchase, they will come with connectors to plug inline easily with your tail lights. All you will need to do is mount the resistor to a metal surface behind the tail light and plug the open connector into the stock tail light socket which your original tail lights are currently connected to.
If you're installing your lights with the LED Load Resistors, please follow these steps to ensure correct installation:
1) Do not connect the resistors right away. Temporarily set them aside for now.
2) Install the tail lights first, one at a time, ensuring each light is plugged in correctly before installing the next light.
3) When all four lights are connected and are working correctly, then mount each resistor to the metal surface behind the tail lights. Make sure they are mounted in a spot where the cables will have enough length to able to plug inline with the tail lights, but do not connect them yet. It is essential that the resistors are mounted to a metal surface and that they are not insulated from the metal surface (do not use 2 sided mounting tape, unless it's specifically labeled as "thermal" or "conductive" tape). Small self tapping screws are best.
4) Connect each resistor one at a time by first disconnecting the tail light and then plugging the resistors connectors in between the socket from the car and the plug on the tail lights. Be mindful of the black wire. The connectors should be oriented so that the black wire always connects to the black wire. Once connected, when the light is on the resistors get very very hot (like burning hot) quite quickly, so be careful to not burn your hands. Mounting them to the metal surface behind your tail lights allows the heat to be wicked away from the resistor. If they are not mounted to a metal surface the resistors may cook themselves and stop working. Confirm that all 4 tail lights are still operating as they should be before connecting the next resistor. If you notice any of the four tail lights are not behaving how they were before you installed the resistor, this likely indicates that one of the two connectors on the resistor is inverted. Try disconnecting the resistor and rotating the connector 180 degrees. Again, check that the black wire of the connector is inline with the black wire on the socket and reconnect.
Why would I want LED Load Resistors?
LED's have a much lower electrical resistance when compared to standard factory tail light bulbs. Your car is equipped to detect when a standard light bulb has burnt out and needs to be replaced. It alerts the driver by causing the appearance of a faster blinking signal light and an alert message on the dashboard. This is triggered by the detection of a decreased electrical resistance from the light. The electrical resistance of LED lights is so low that the system doesn’t register any measurement and assumes the bulb is burnt, even though the LED lights are functioning properly. This is common with any LED light.
Not having resistors will not affect the performance or reliability of the LED tail lights, other than making them blink faster. To avoid this, an inline resistor is installed near the tail light housing. The resistor literally creates detectable electrical resistance, by converting the electricity to heat, simulating the resistance of the stock bulb. Again, this is optional. If you already have inline LED resistors installed, or you simply want to reduce the cost and do not mind the faster blinking signal lights, you can select the drop down option to not include these resistors in your order.